Among the many cool things you can do with Krea.ai, one of the best uses I’ve found is image restoration. It seems to work very well on images that are slightly out of focus or perhaps lacking in resolution. I have tried this with PhotShop’s Neural Filters, but I haven’t been able to match the results you see here. I’ve done a few of these restorations for this week, and everyone has been astonished at the results.
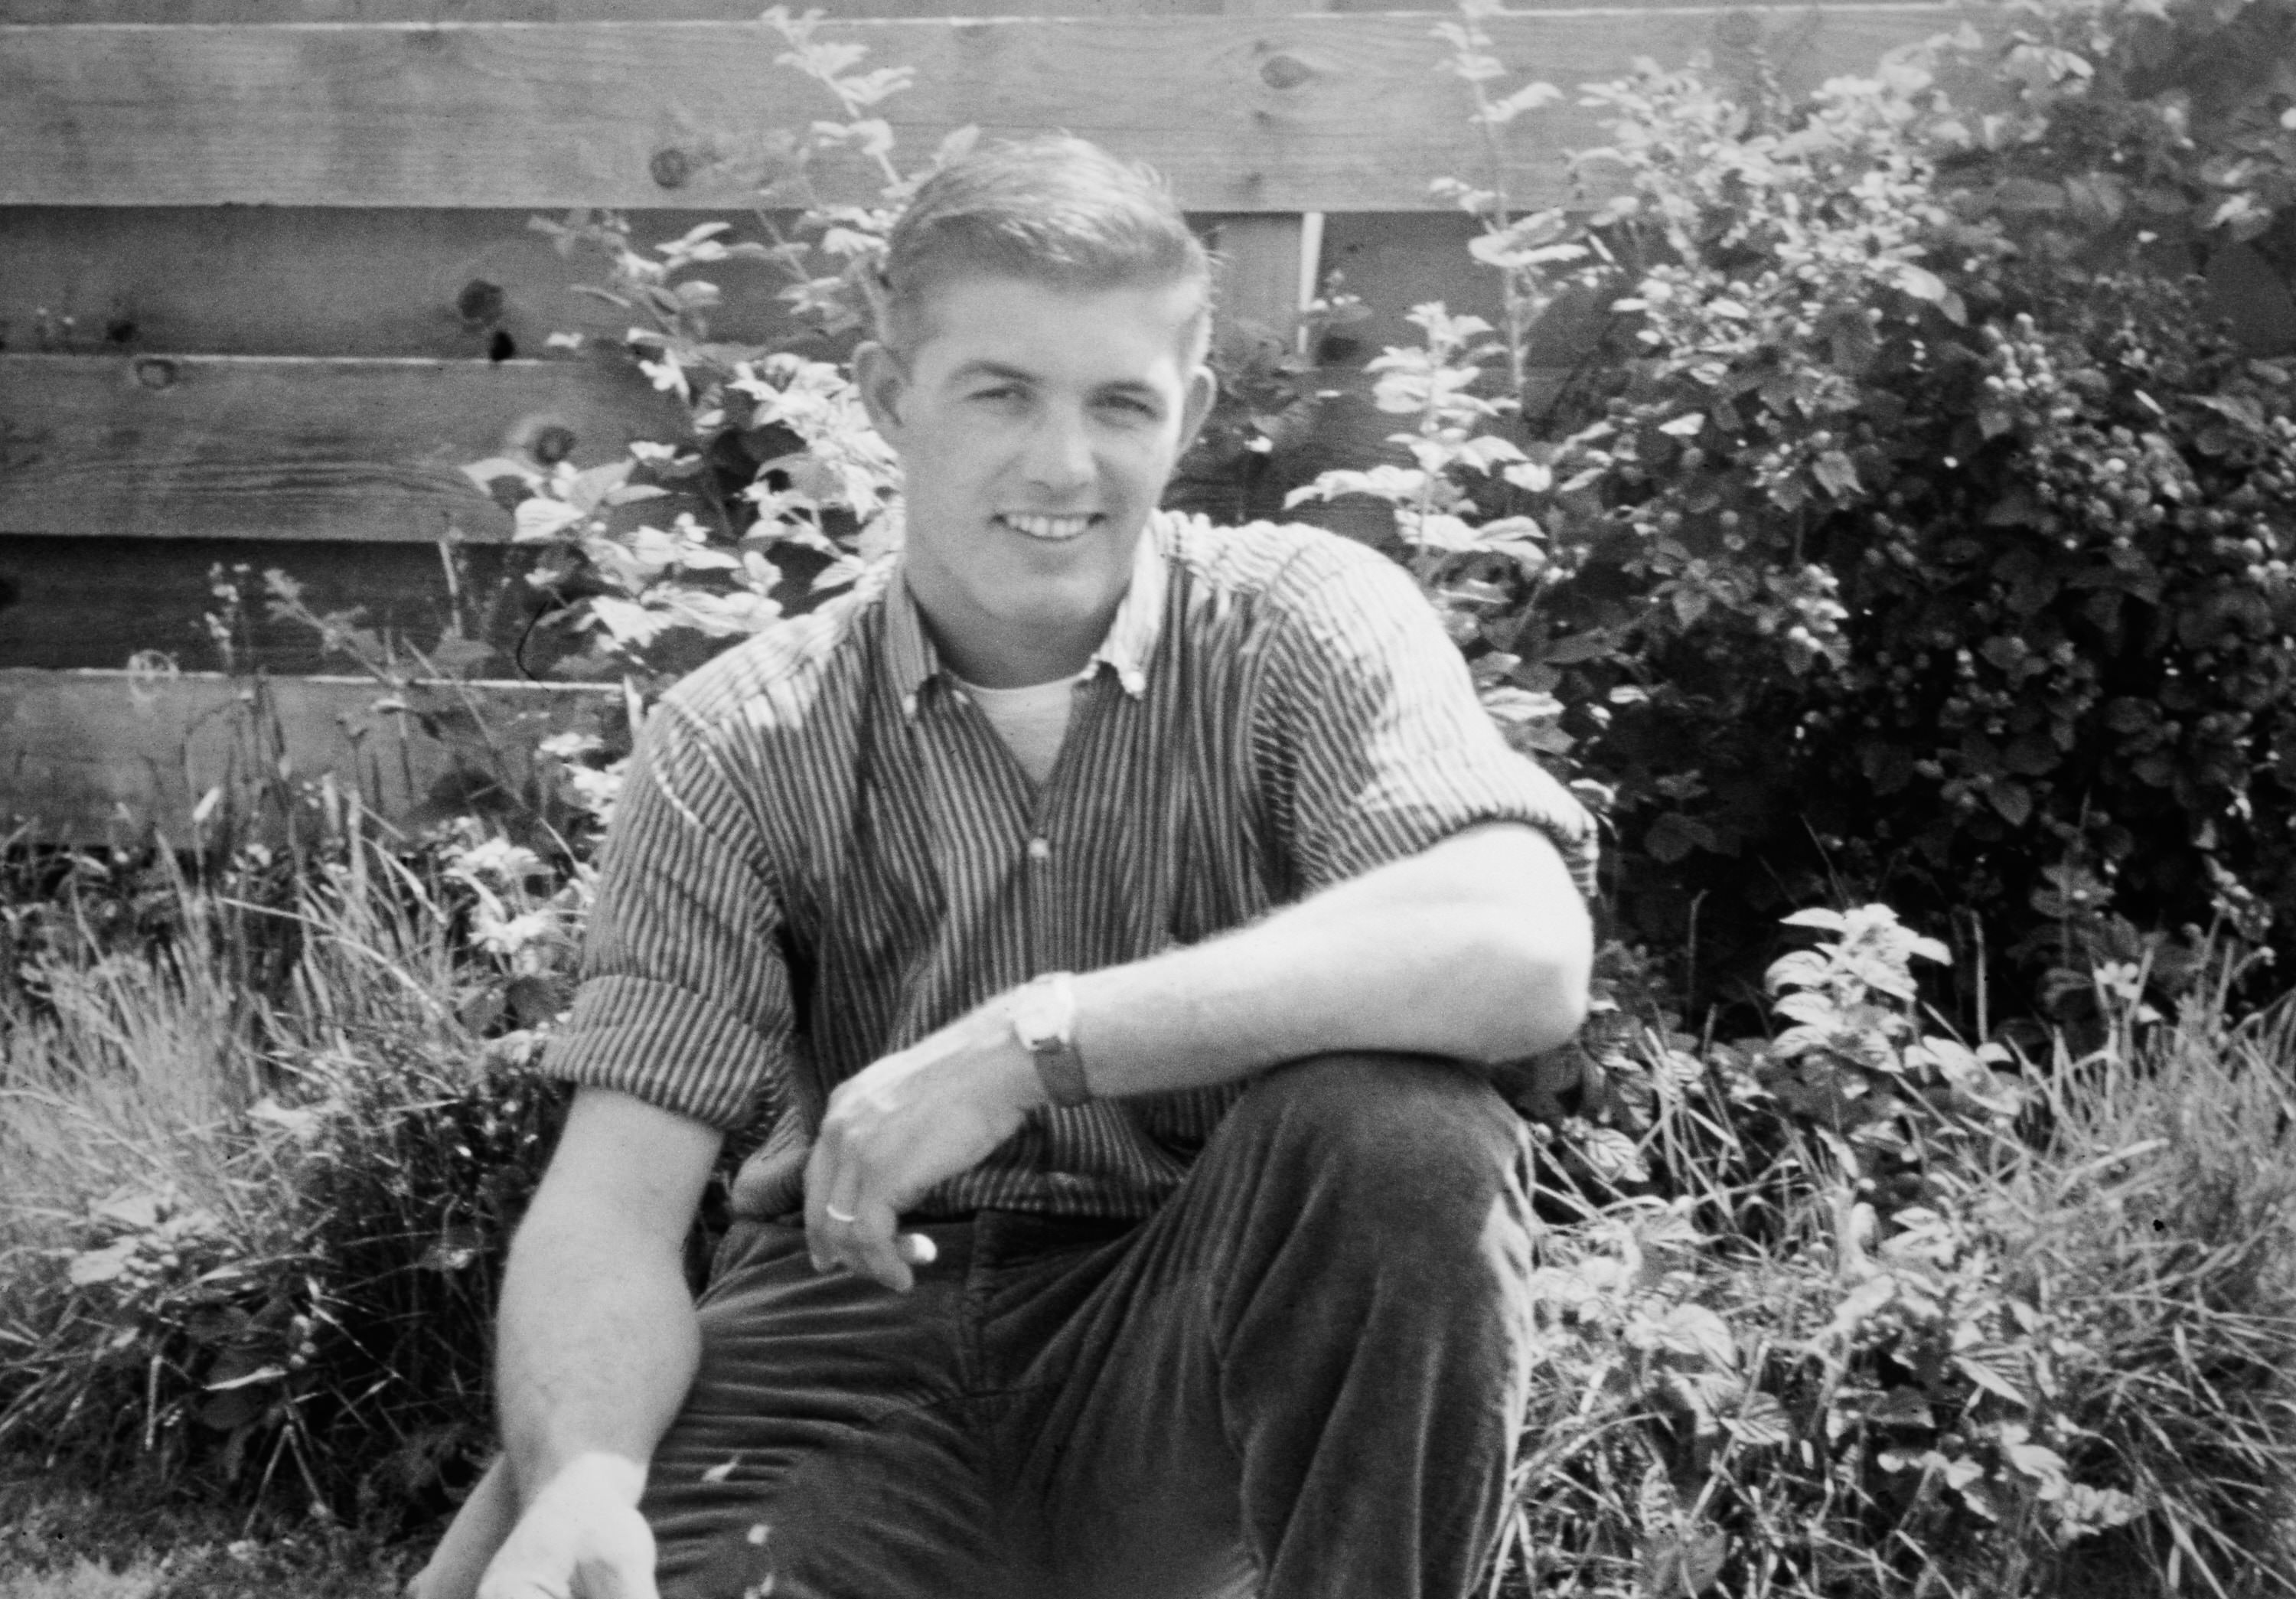
Today’s image is a scan I made of an old photo of Kelly’s dad, Frank. This work has special meaning, obviously, so I wanted to make sure the end result looked exactly like the man we both loved and remember so well.
I scanned the original photo years ago at 600 dpi, so that I would have some pixels to work with while painstakingly retouching the scratches, dust, and other schmutz the “old fashioned” way. If only these tools had been available to me at the time! They could have saved me countless thousands of mouse clicks. This whole image restoration process just became much easier, and the results are better.
To begin, I dragged the image in JPG or PNG format into the krea.ai Enhance Module. The app examines the image and generate a text prompt describing the image. This will be used by the AI embedded in the module to generate an image. For this image, I changed the auto-generated prompt only slightly. Experience has revealed that Krea has a tendency to make subjects look older than they appear in the source image — it seems to add excess wrinkles on faces and hands. To attempt to correct this I made a slight change to the prompt generated by krea. I changed “A man with a watch is sitting on the grass.” to “A young man with a watch is sitting on the grass.”
Now, I clicked Enhance, and about a minute later, the enhanced image was created. The results are shown below.
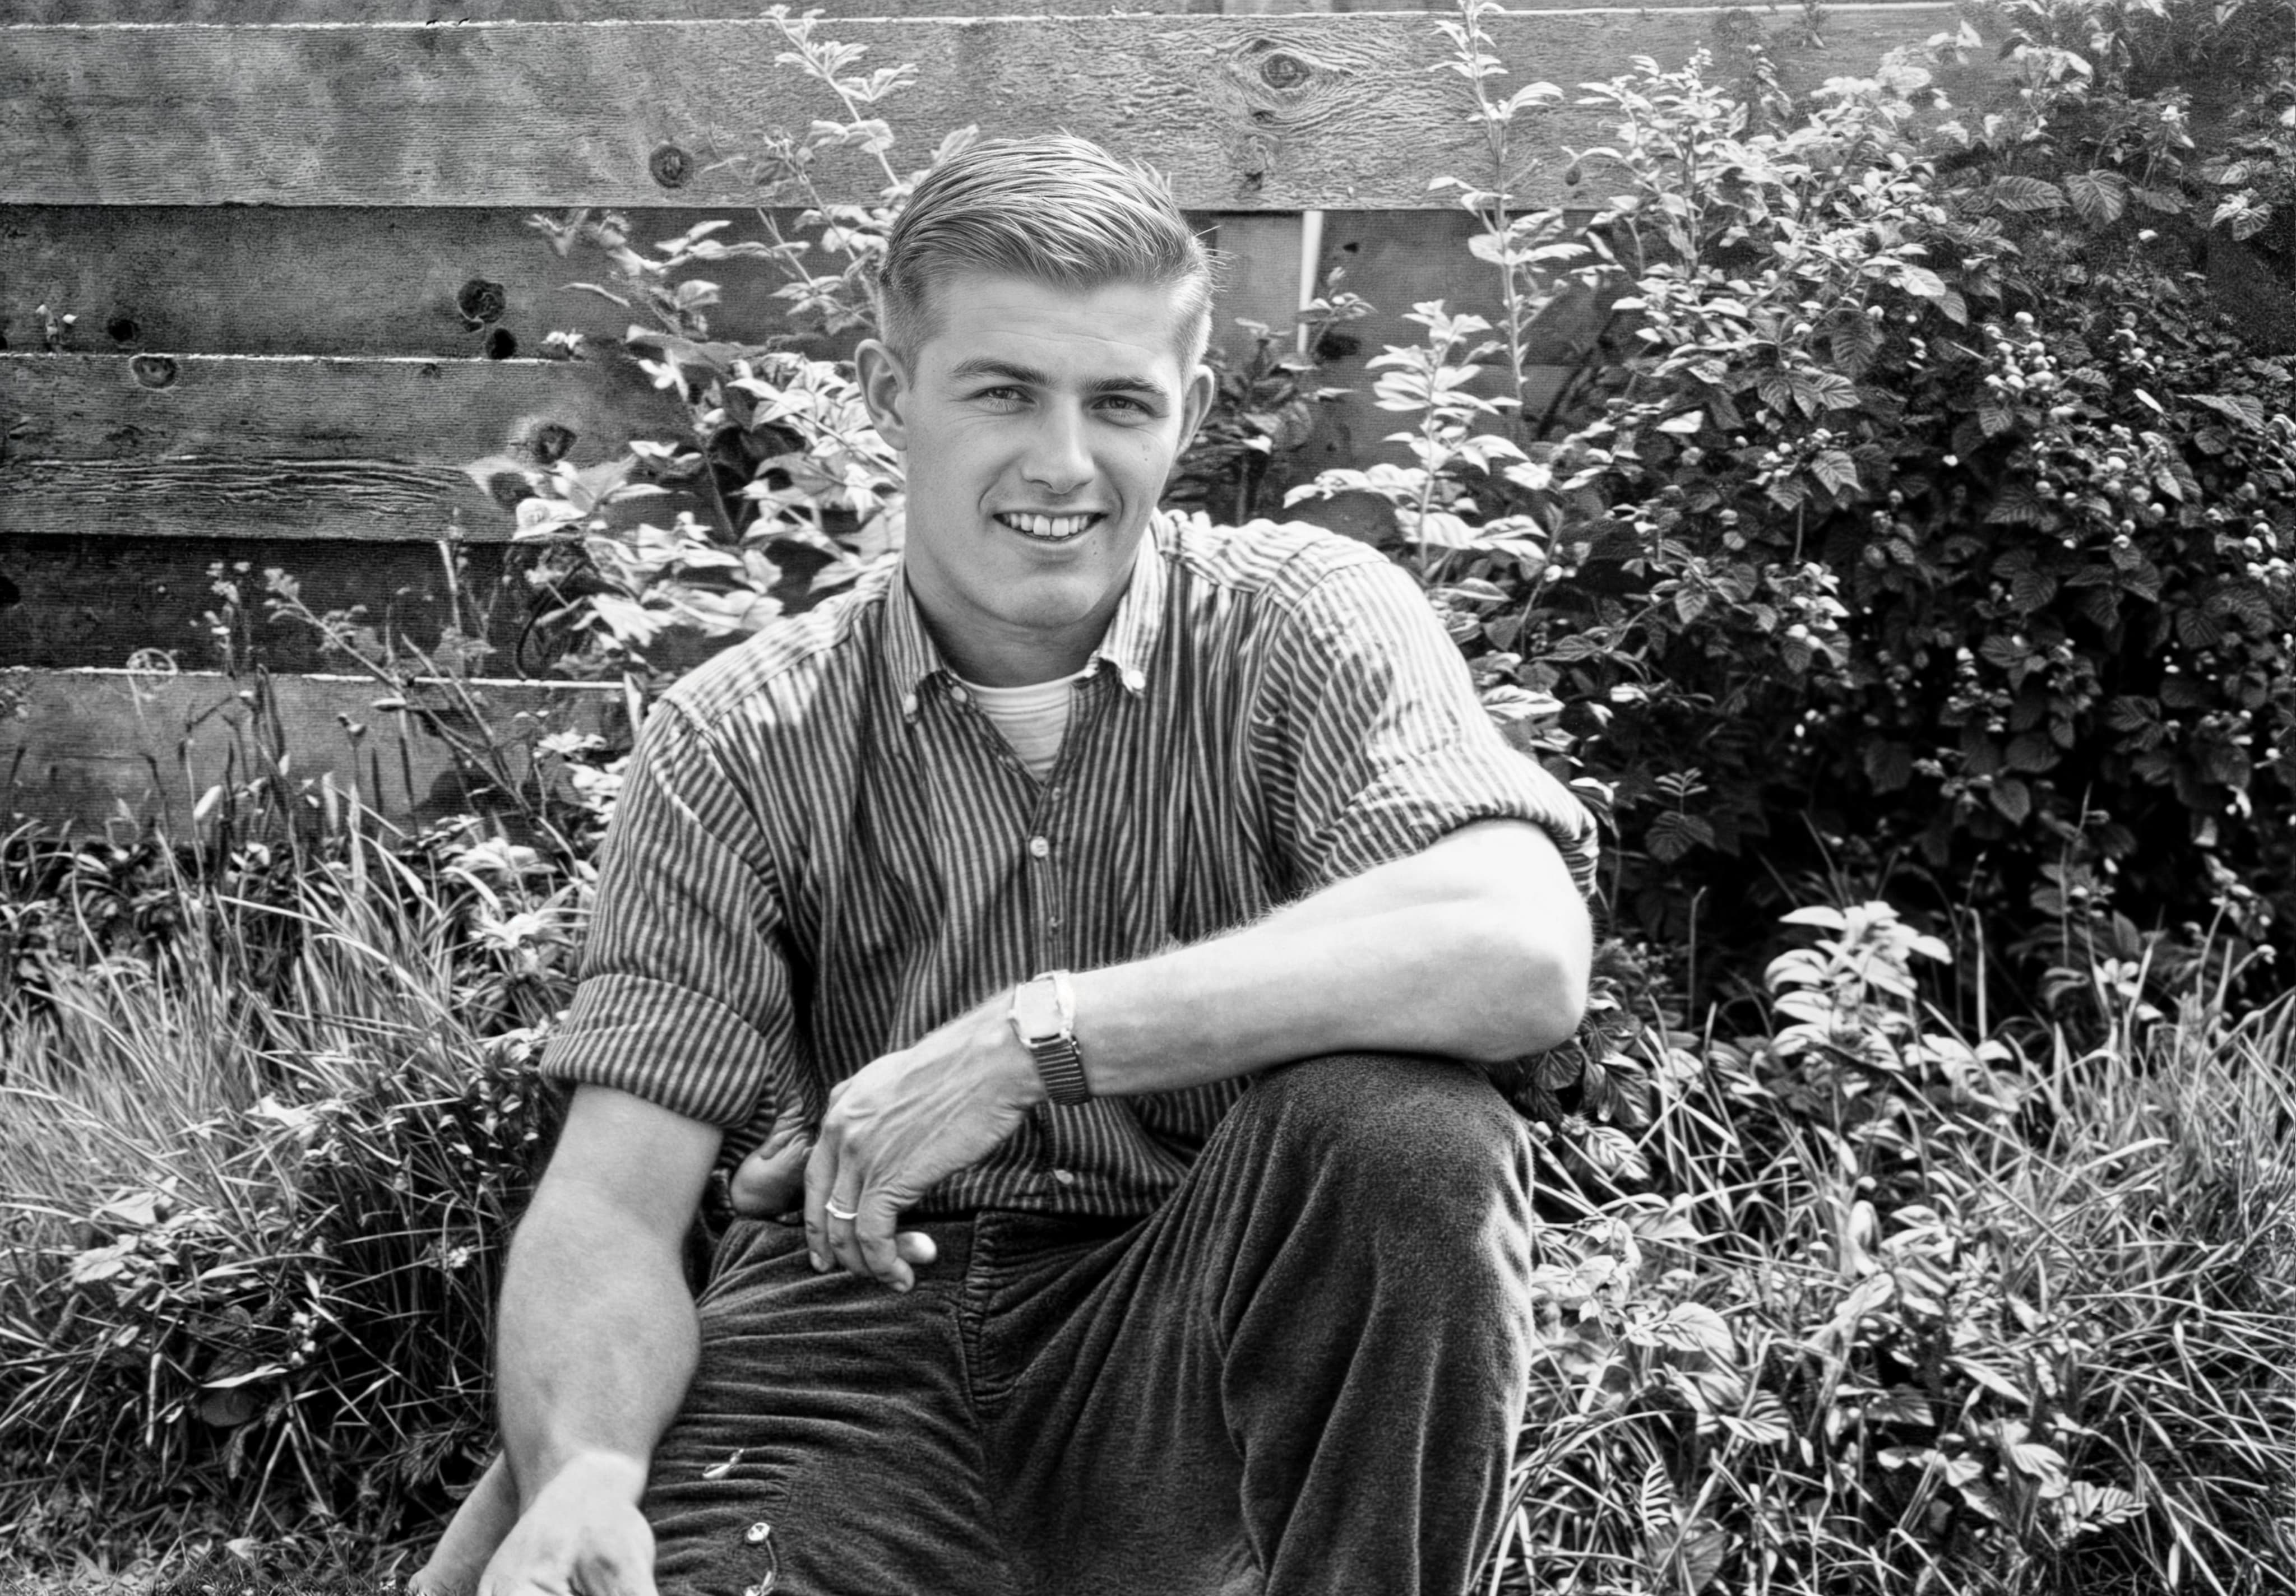
Wow, right? I think you’ll agree that this is already pretty amazing. But, this is my wife’s very handsome Dad, so it needs to be perfect. I noticed a couple minor issues.
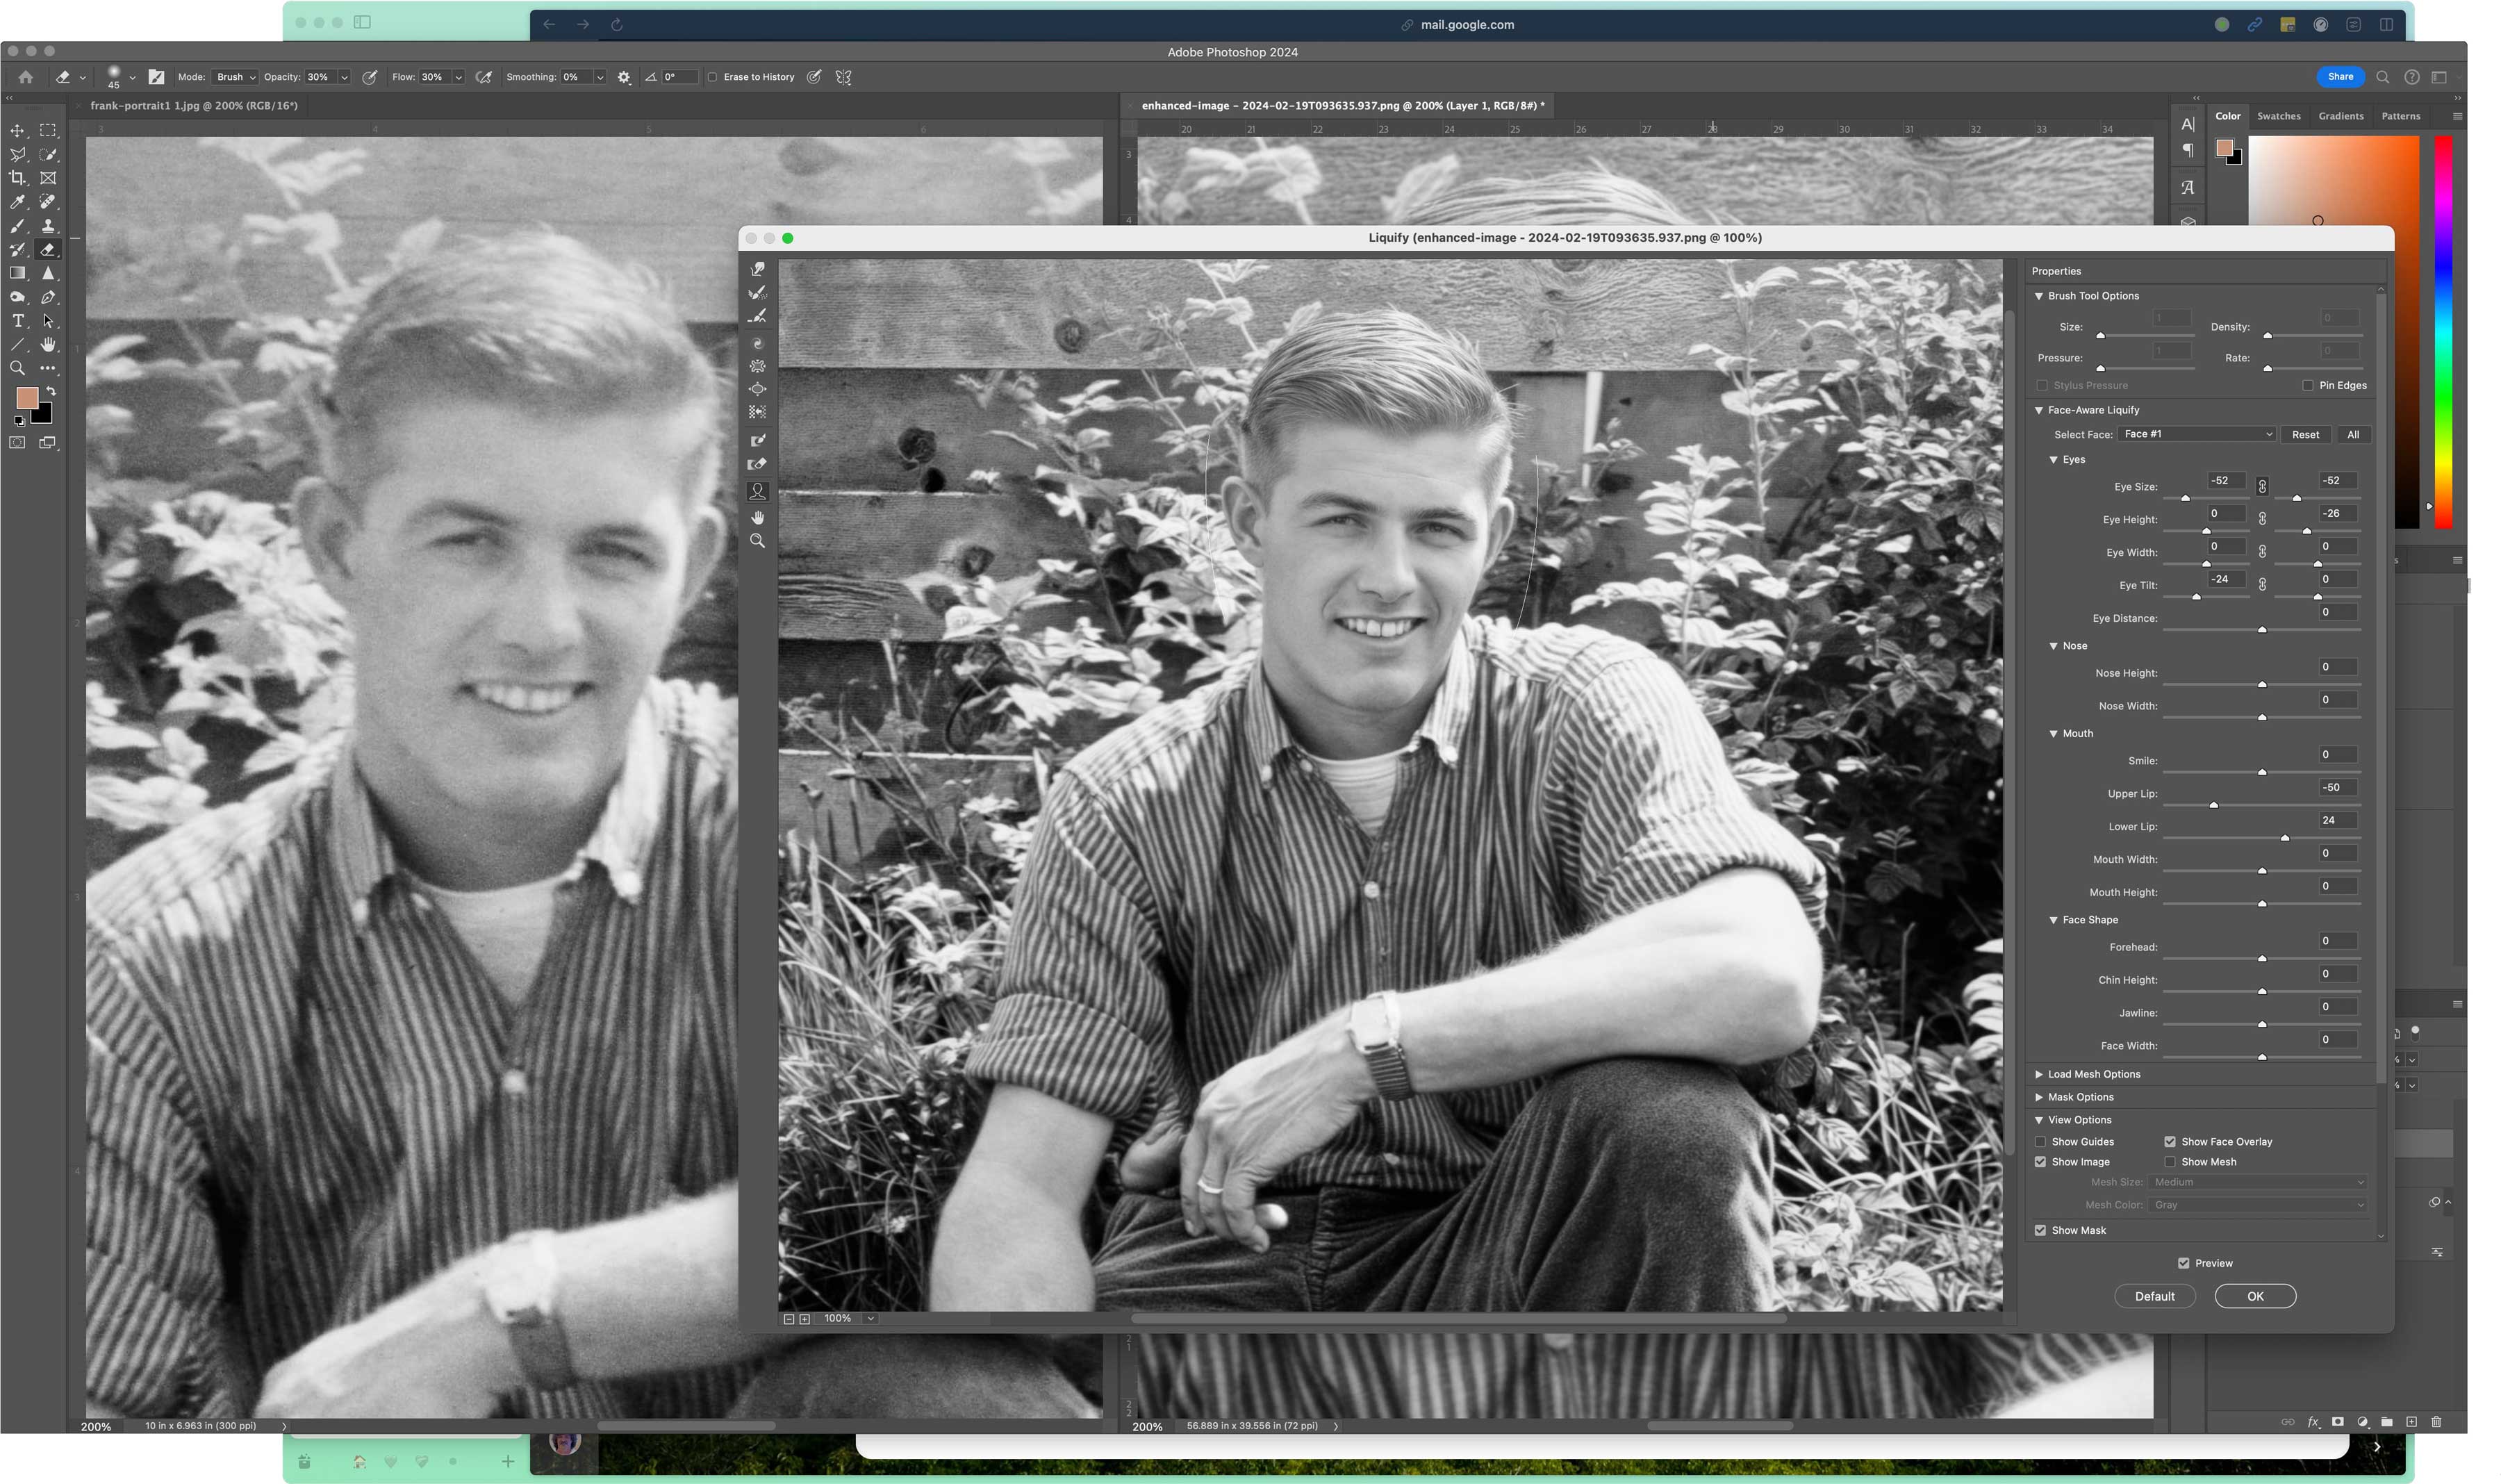
Krea consistently makes the lips a bit too full, opens the eyes and adds too much eyelash under the eyes. It also adds a bit too much detail to the image, and if you’re not careful, the results can look too processed, sort of like it’s been over-sharpened. But these issues are pretty minor, so a few minutes in PhotoShop was all I needed to fix these issues. I created a couple of layers — one of the original scanned image and another containing the enhanced image. With the enhanced image on top of the original, adjusting the layer transparency to about 50-60% was a very good start. In a few spots, I erased some of the enhanced layer to let more of the original image show through. The end result needs to look much like the 60 year-old photo I began with — but better.
Here I am using PhotoShop’s amazing Liquify filter to tweak the parameters of Franks face — lips, eyes, etc.
I took my time with this image, and still I was done in under an hour. This is workflow is simple, and in my opinion, amazing.
The final image:
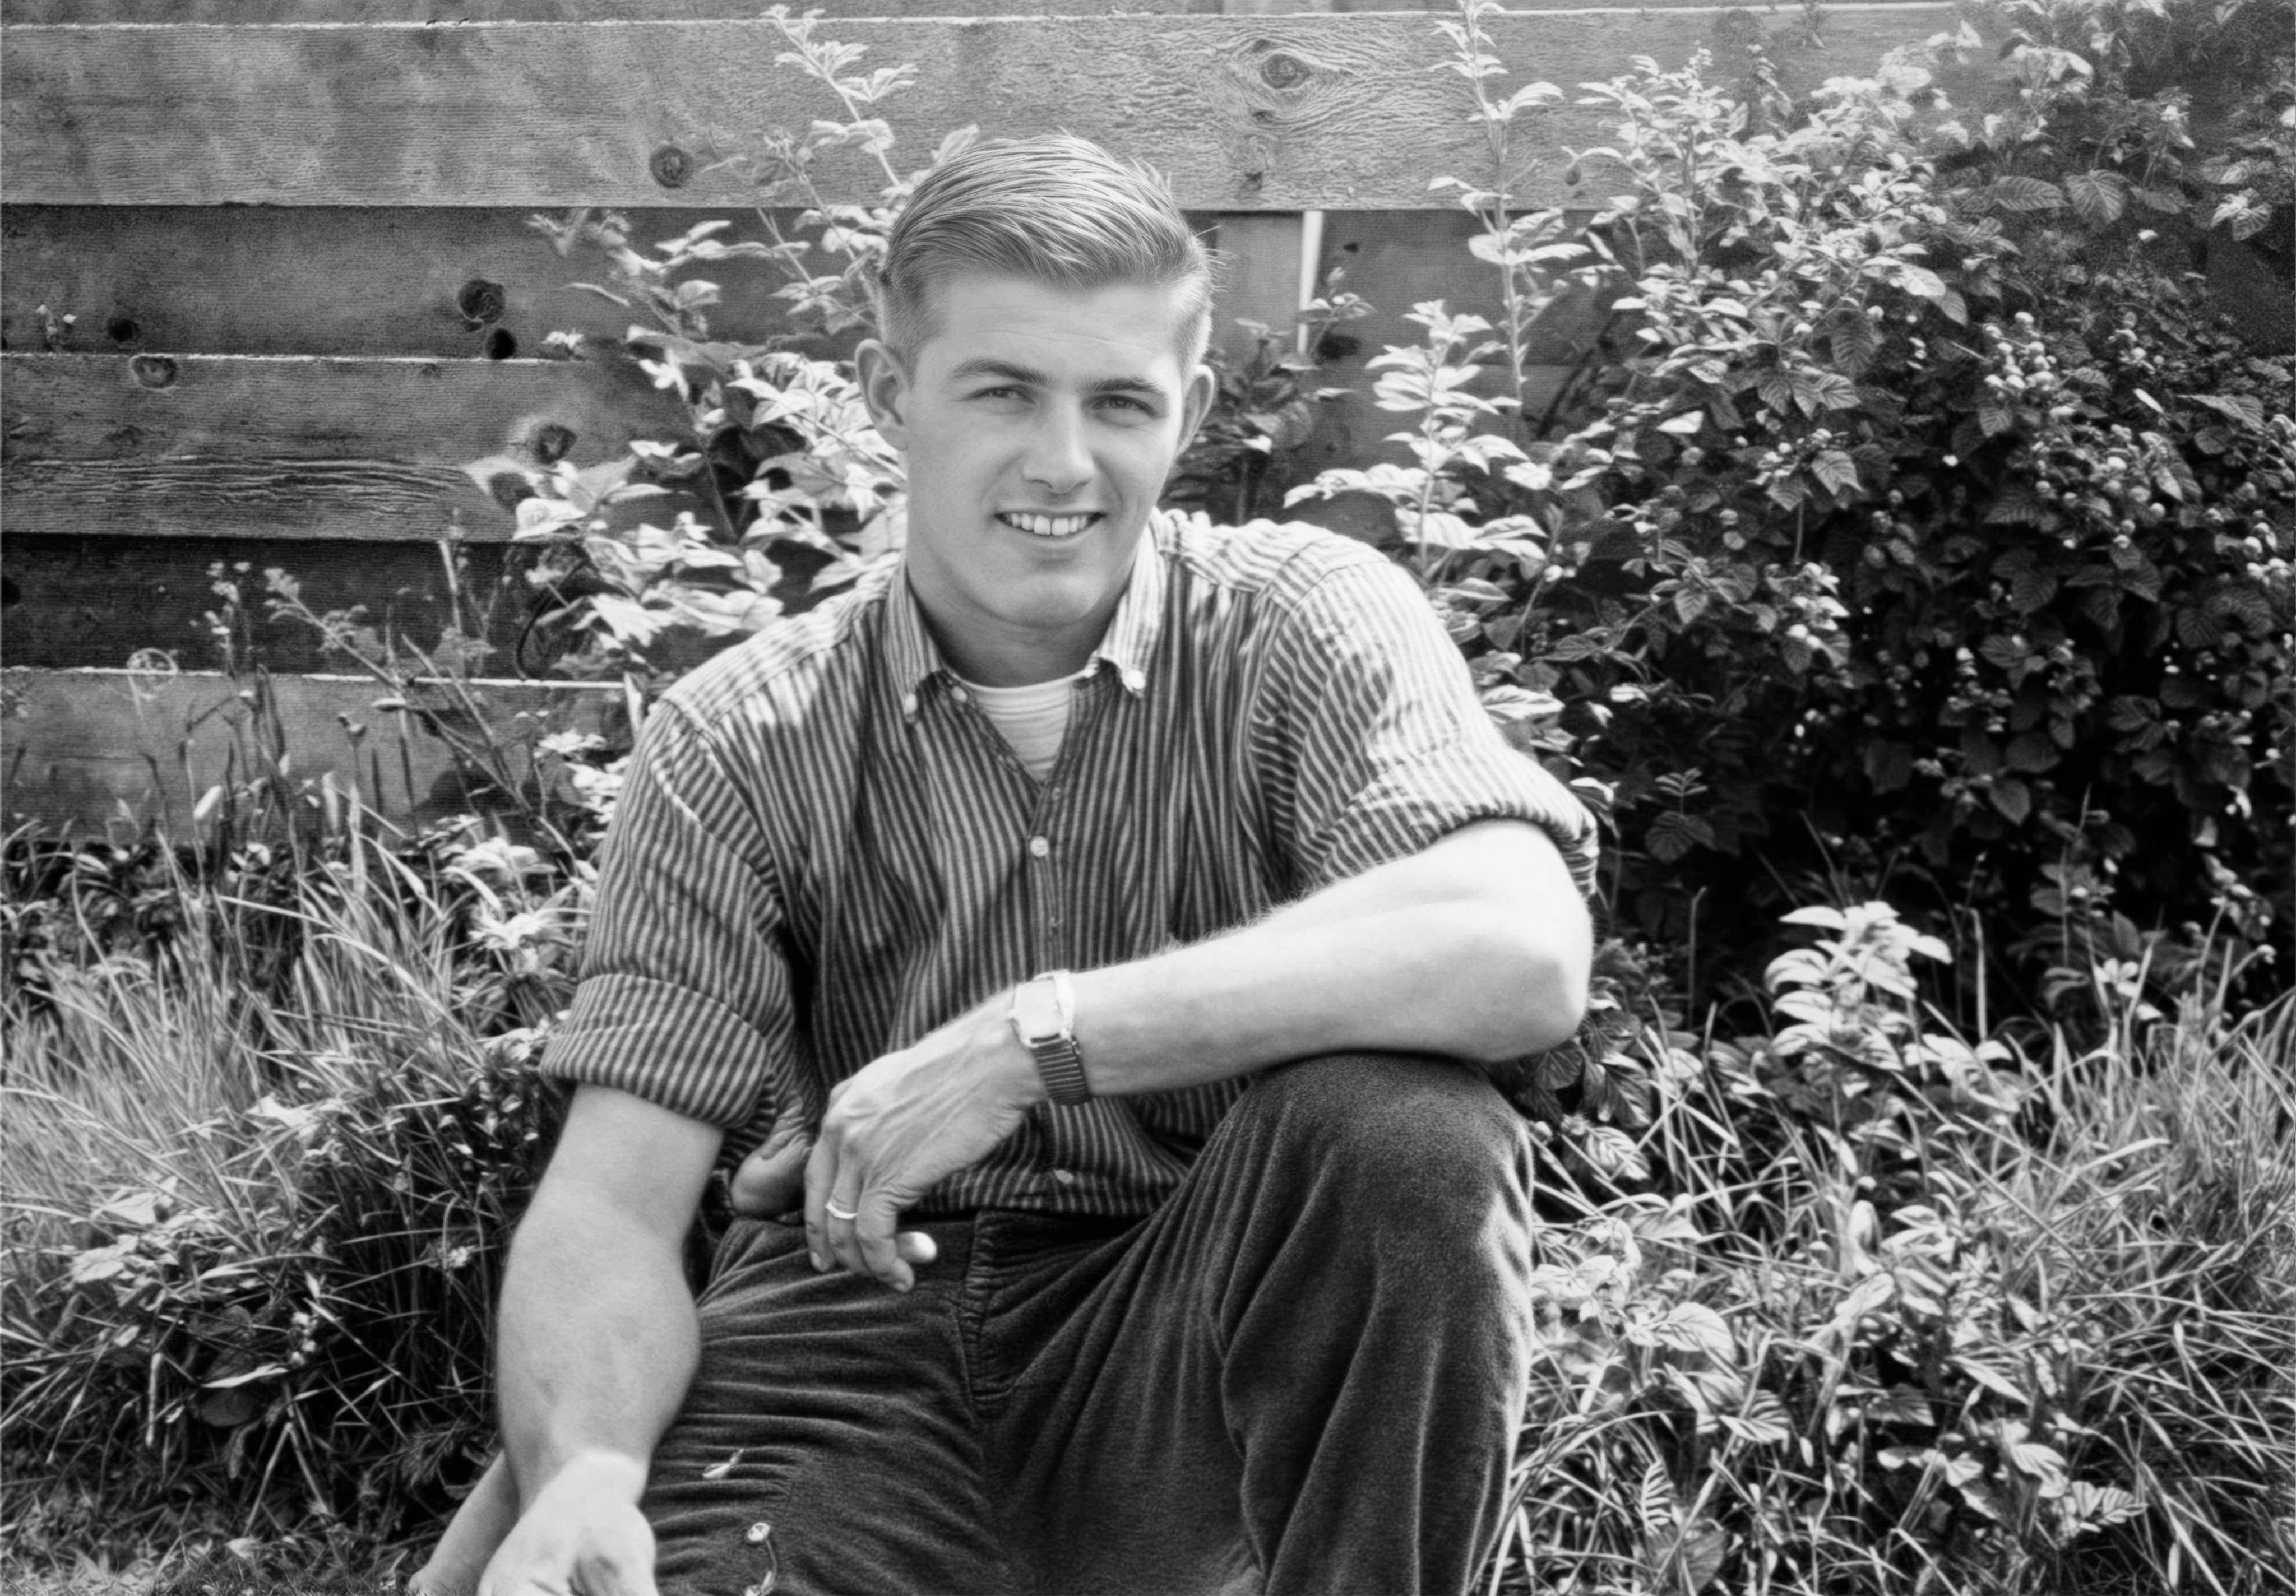
Wow!