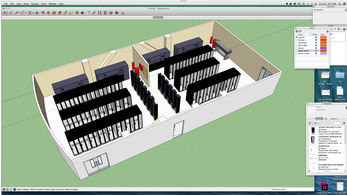
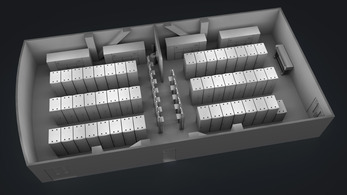
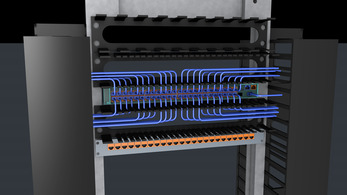
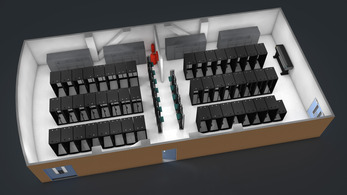
What you see is a fairly accurate view of the server room at work.
If you’re interested, here’s how I created this. Note that the method I use is just one way to accomplish this. There are “easier” methods, like rendering directly inside of SketchUp with any number of snap-in renderers, (I like TheaRender) but the method I use offers more control, and works better with relatively complex files like this one.
The initial 3D model is built with SketchUp Pro. (Unfortunately, the standard version does not allow you to import or export the most popular 3D formats, so you need the non-free version to do this.) Most of the 3D components are easy to find at the SketchUp 3D warehouse. Creating a scene like this in SketchUp is easy, and the SketchUp 3D model is extremely useful in it own right – more useful, in fact, than the pretty 3D rendering. This is due to speed, ease of use and because anyone can install the free SketchUp Viewer and view a 3D file.
Once the SketchUp model is finished, it is exported in a 3D format that works with your renderer. I chose .obj format because the mesh comes across perfectly. Materials are another matter, but that’s OK. I prefer to assign them in Cinema4D anyway.
Final tweaks on the render are related mostly to lighting. A bit of patience and a powerful machine are helpful here.


